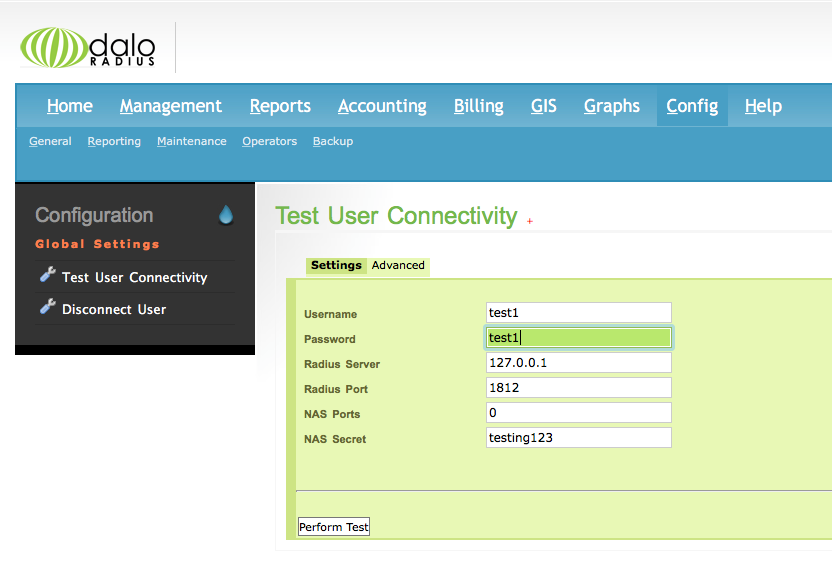
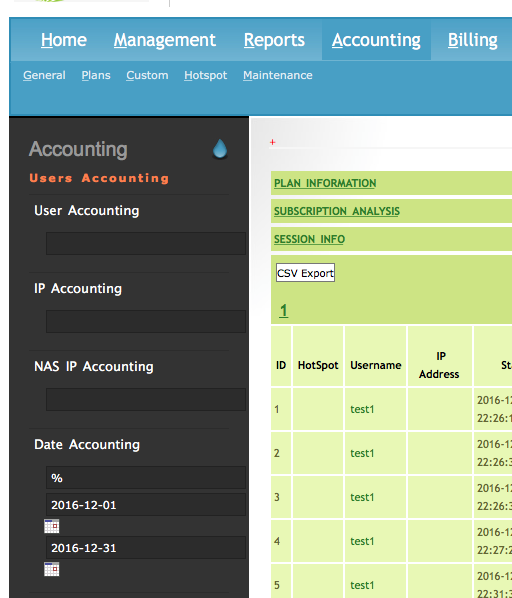
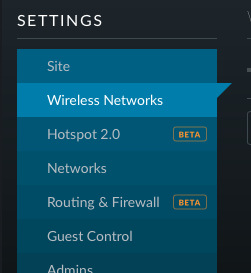
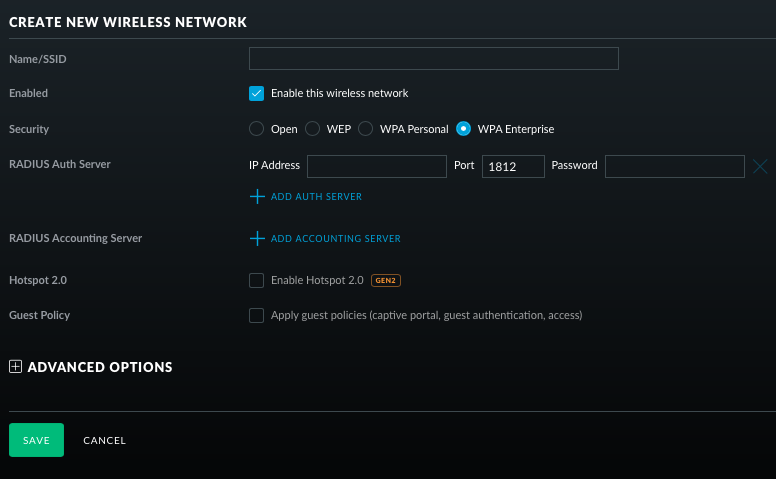
雖然新的Unifi Cloud key Beta 版本內部已經內建FreeRadius Server.
但是穩定性不佳 因此本案例是使用Raspberry Pi來做FreeRasius Server+ DaloRadius的GUI.
同樣可以架設Unifi 與其他Radis Server驗證.
首先下載 RASPBIAN JESSIE 安裝作業系統,安裝完畢之後先接上螢幕跟鍵盤滑鼠來操作,因為還沒開啟SSH,無法遠端登入。
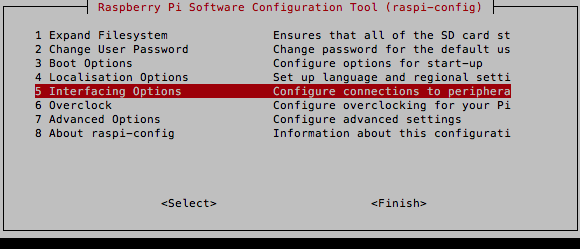
再來使用 sudo rasps-config,選第五項
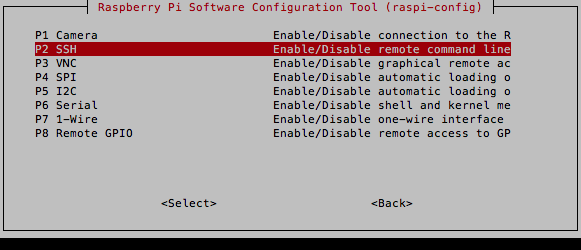
再選SSH去啟動
離開之後再使用以下指令更新:
$ sudo apt-get update
$ sudo apt-get upgrade
$ sudo rpi-update
然後再重開機。
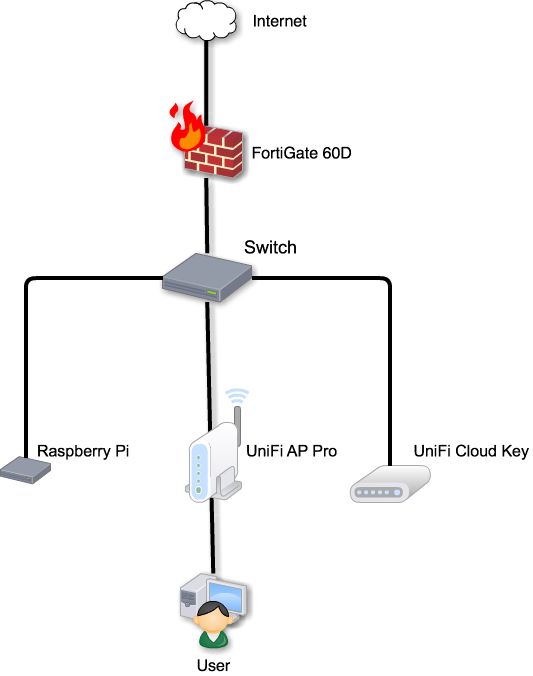
完成之後就開始使用遠端登入 Raspberry Pi 做操作,這次實驗的結構圖如下
然後就要安裝 Apache、MySQL、PHP
$apt-get install freeradius freeradius-mysql apache2 php5 libapache2-mod-php5 mysql-server mysql-client php5-mysql php-pear php5-gd php-db
安裝完畢之後下載 DaloRADIUS 安裝檔,在 RASPBIAN JESSIE 裡,apache 的預設路徑是在 /var/www/html,前面的版本是在 /var/www/,這個分別要注意一下。
cd /usr/src
wget http://downloads.sourceforge.net/project/daloradius/daloradius/daloradius0.9-9/daloradius-0.9-9.tar.gz
tar zxvf daloradius-0.9-9.tar.gz -C /var/www/html
mv /var/www/html/daloradius-0.9-9/ /var/www/html/daloradius
cd /var/www/html/daloradius
然後開始建立 FreeRADIUS/DaloRADIUS 的資料庫,這邊登入MySQL的密碼都是登入作業系統的密碼。
mysql -uroot -p
mysql>create database radiusdb;
mysql>exit
mysql -u root -p radiusdb < /var/www/html/daloradius/contrib/db/fr2-mysql-daloradius-and-freeradius.sql
mysql -u root -p
mysql>CREATE USER 'radiususer'@'localhost';
mysql>SET PASSWORD FOR 'radiususer'@'localhost' = PASSWORD('radiuspass');
mysql>GRANT ALL ON radiusdb.* to 'radiususer'@'localhost';
mysql>exit
然後要設 定DaloRADIUS 與資料庫連結
nano /var/www/html/daloradius/library/daloradius.conf.php
$configValues['DALORADIUS_VERSION'] = '0.9-9';
$configValues['FREERADIUS_VERSION'] = '2';
$configValues['CONFIG_DB_ENGINE'] = 'mysql';
$configValues['CONFIG_DB_HOST'] = 'localhost';
$configValues['CONFIG_DB_PORT'] = '3306';
$configValues['CONFIG_DB_USER'] = 'radiususer';
$configValues['CONFIG_DB_PASS'] = 'radiuspass';
$configValues['CONFIG_DB_NAME'] = 'radiusdb';
FreeRADIUS的使用者名單路徑是在 /etc/freeradius/users,在做資料庫連結前最好先做測試來檢查運作是否正常。
nano /etc/freeradius/users
更改下面這兩行 :
#"John Doe" Cleartext-Password := "hello"
# Reply-Message = "Hello, %{User-Name}"
變成這樣:
"John Doe" Cleartext-Password := "hello"
Reply-Message = "Hello, %{User-Name}"
$/etc/init.d/freeradius stop
$freeradius -XXX
Info: Ready to process requests.
再按下 ctrl+c 結束連線。
重新啟動 freeradius 服務
$/etc/init.d/freeradius start
使用 radtest 來確定可以通過認證
$radtest "John Doe" hello 127.0.0.1 0 testing123
成功會看到下面的訊息:
Sending Access-Request of id 180 to 127.0.0.1 port 1812
        User-Name = "John Doe"
        User-Password = "hello"
        NAS-IP-Address = 127.0.1.1
        NAS-Port = 0
        Message-Authenticator = 0x00000000000000000000000000000000
這些都通過就可以切換到MySQL認證的部份
$nano /etc/freeradius/radiusd.conf
對下面這兩行的內容刪除掉註解符號:
# $INCLUDE sql.conf
# $INCLUDE sql/mysql/counter.conf
改成:
$INCLUDE sql.conf
$INCLUDE sql/mysql/counter.conf
再把 /etc/freeradius/sql.conf 內的資訊修改成前面更改過的帳號密碼:
$nano /etc/freeradius/sql.conf
        server = "localhost"
        #port = 3306
        login = "radiususer"
        password = "radiuspass"

        # Database table configuration for everything except Oracle
        radius_db = "radiusdb"
編輯 /etc/freeradius/sites-enabled/default 並把所有 sql 前的註解都拿掉
$nano /etc/freeradius/sites-enabled/default
把 authorize{} 中 sql 前的註解符號刪掉
# 找出  sql.conf 中的 “Authorization Queries”
sql
把 accounting{} 中 sql 前的註解符號刪掉
# 找出  sql.conf 中的 “Accounting queries”
sql
把 session{} 中 sql 前的註解符號刪掉
# 找出  sql.conf 中的 “Simultaneous Use Checking Queries”
sql
把 post-auth{} 中 sql 前的註解符號刪掉
# 找出  sql.conf 中的 “Authentication Logging Queries”
sql
測試設定的結果,先停止 freeradius 服務
$service freeradius stop
再啟用 freeradius 偵錯模式
$freeradius -X
沒有顯示任何錯誤就可以繼續進行下去。
然後要將無線基地台設定為 client 才能讓其他裝置透過 client 與 FreeRADIUS 主機連線。
$nano /etc/freeradius/clients.conf
最下面新增 AP 的資訊
client 192.168.1.112 {
        padder = 192.168.1.112 #AP的IP
       secret = testing123 #預設的secret
       shortname = oss #隨意命名作為識別
}
重新啟動 FreeRADIUS 服務
$service freeradius restart
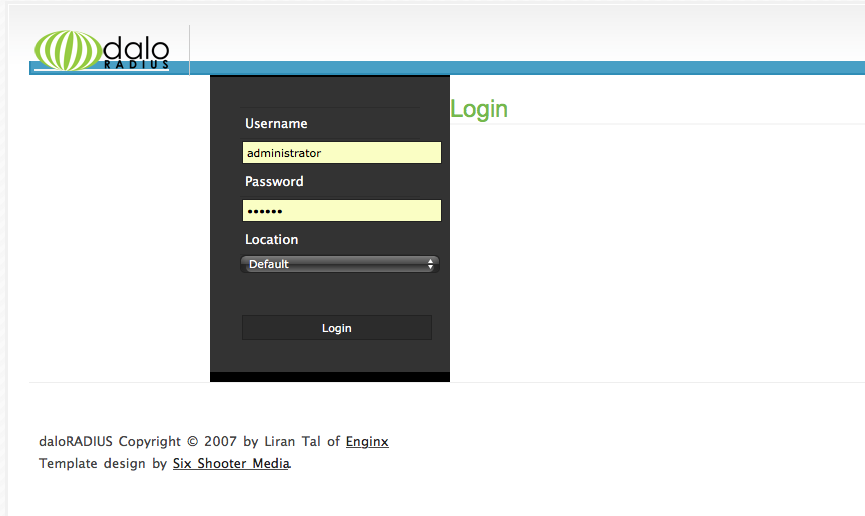
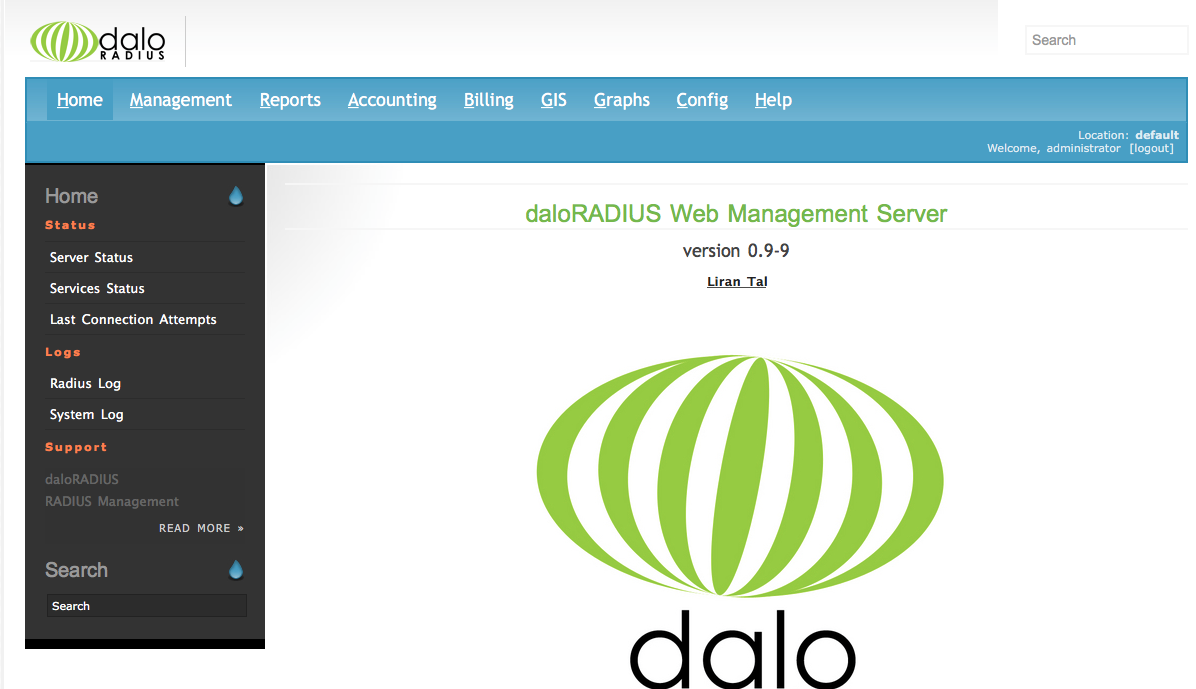
http://192.168.1.110/daloradius
預設密碼:radius


